
Register serials you own to the organization. Proceed in the order Input → Validate → Register; only serials that pass validation are actually registered. Available to Owner · Admin only.
How to Register
Click Register Serial at the top right of the serial list. The input screen appears.
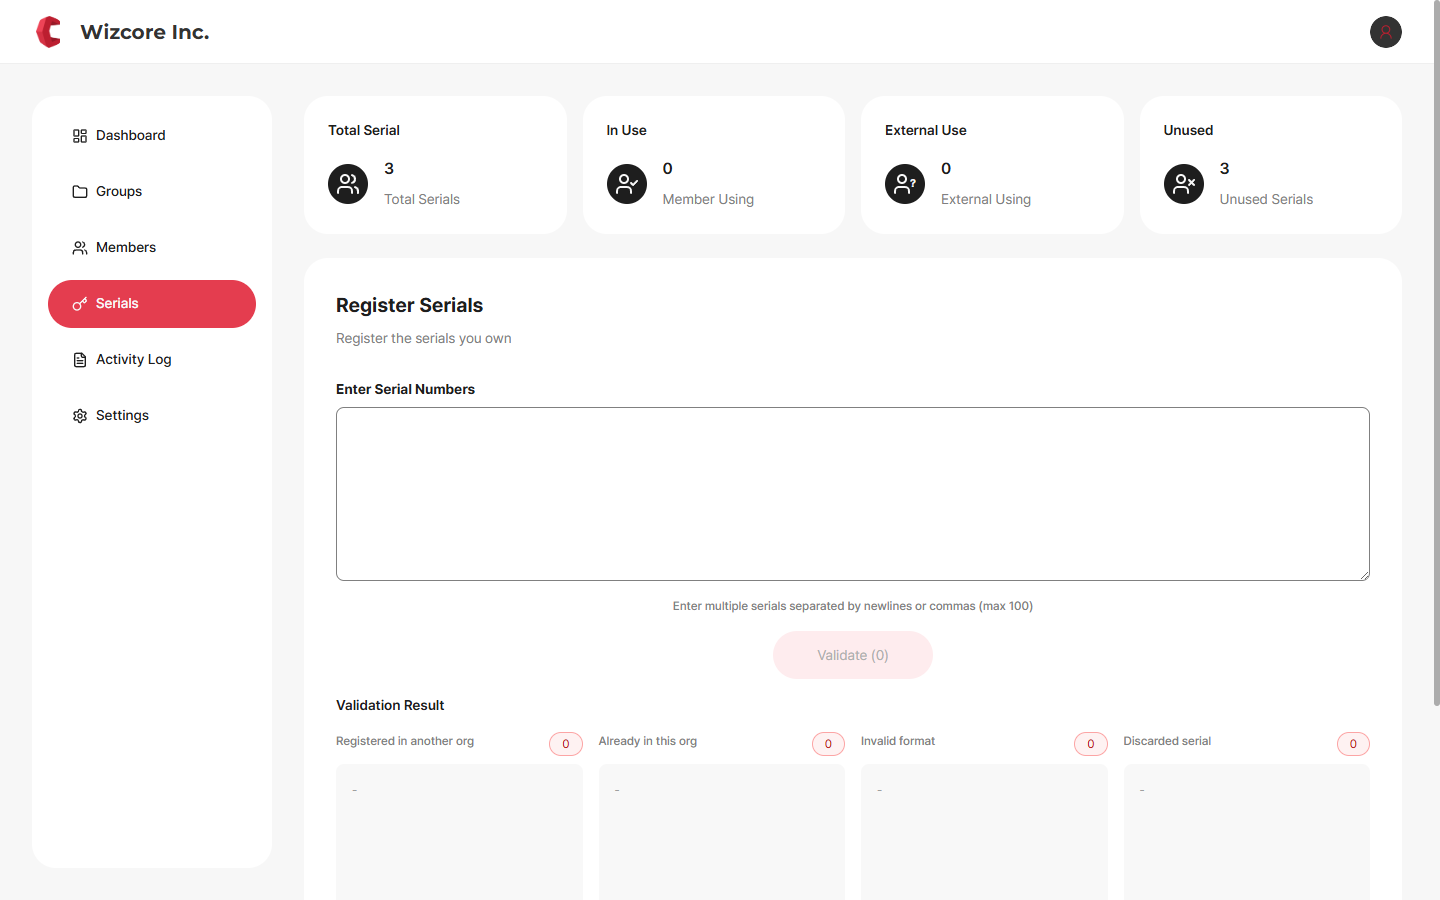
Type serial numbers in the input box. Separating them by line breaks or commas lets you enter many at once (up to 100). Entering at least one enables the Validate(N) button.
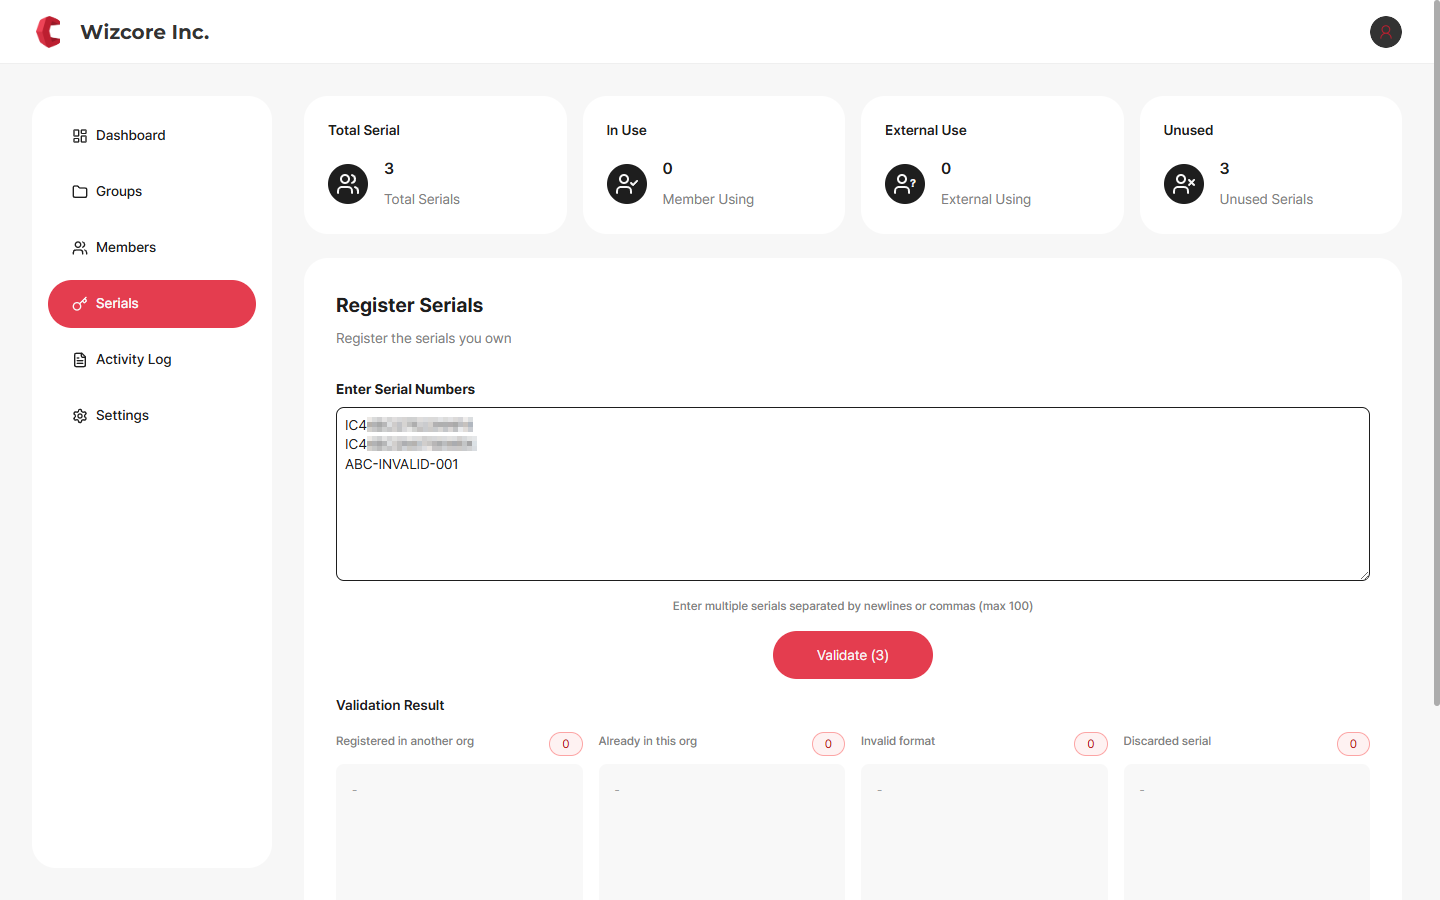
Click Validate to classify the serials into four categories so you can check in advance whether they can be registered.
Registered in another organization : already used by another organization, cannot be registered.
Registered in this organization : already registered in your organization.
Invalid format : the serial number format is incorrect.
Discarded : a key whose use has ended.
At the bottom, "N succeeded / N failed" is shown, and if any serials pass, the Register Serial(N) button is enabled.
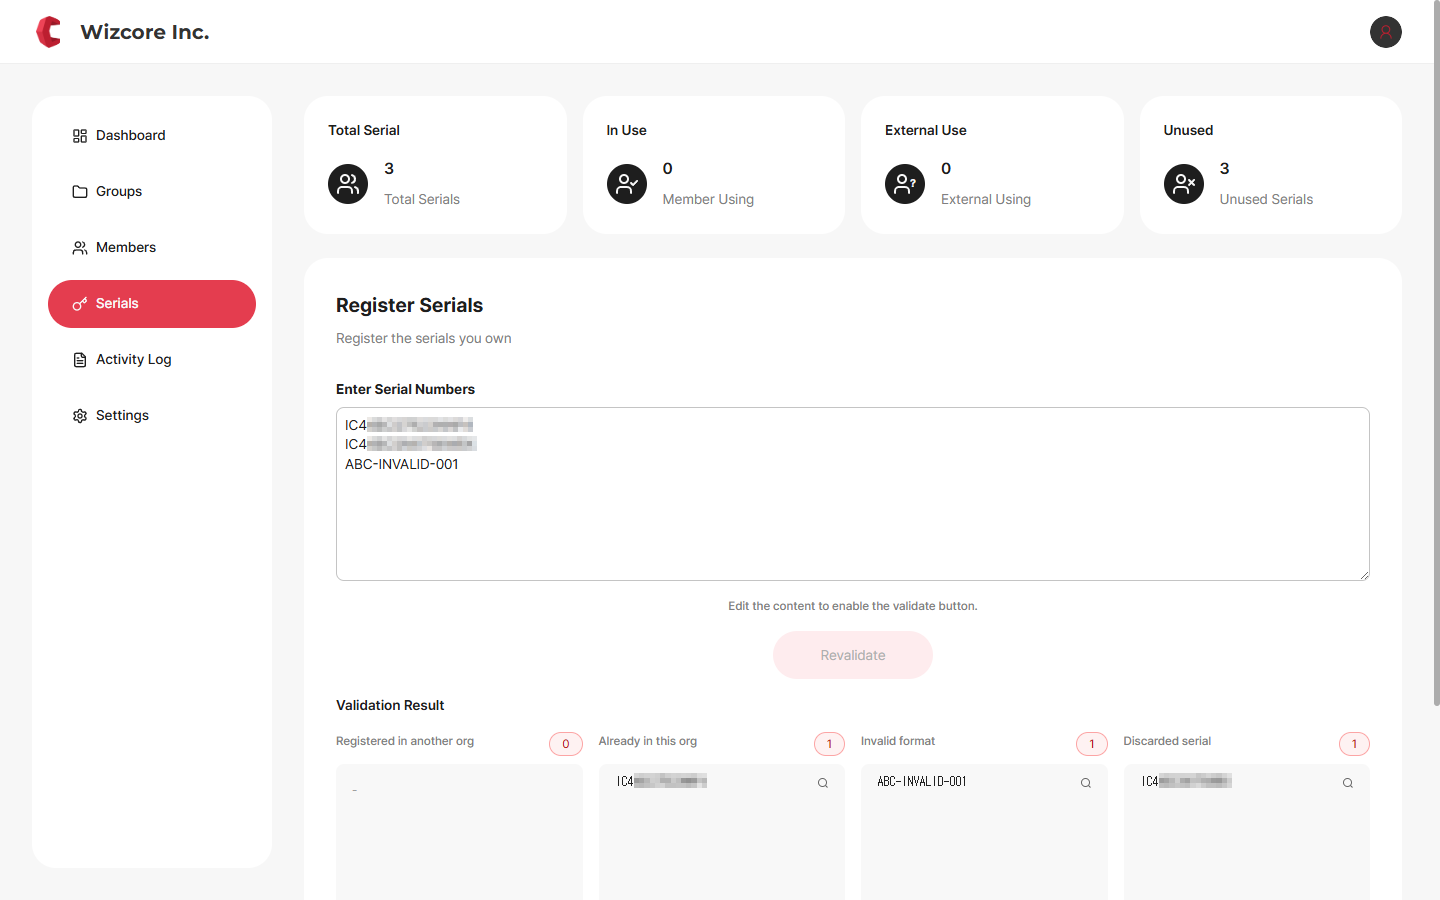
Click Register Serial to register only the serials classified as successful; failed items are excluded.
Fixing Failed Serials and Re-validating
Serials classified as failures can be fixed right where they are, without leaving the registration screen. Each failed item appears inside its classification box (Other organization / Already in org / Invalid format / Revoked) next to its serial number and a magnifier icon.

Method 1 · Re-check failed items one by one (inline)
Click the magnifier icon to the right of a failed serial — that item turns into an editable input field.

Correct the serial number, then click the magnifier icon again to re-check just that one item immediately.
The item updates in place based on the re-check result.
Re-validation succeeds — for a valid serial, the item turns to "Verified" (green) and the success count at the bottom goes up.

Re-validation fails — if there is still a problem, the new failure reason is shown in place (e.g., you fix a format error but the key is already in the organization → "Already registered to the organization").

Method 2 · Edit the input box and re-validate all
Edit the contents of the serial number input box at the top directly.
Right after validation the button reads Re-validate but is disabled, with the hint "Edit the contents to enable the validate button."
Once you change the input, the button becomes Re-validate (N) and active. Clicking it re-classifies all entered serials into the four categories again.
Summary
Either way, when you finally click Register Serials (N), only the serials classified as success are registered and the remaining failures are excluded. You don't have to clear every failure first — if there are successful ones, you can register just those.
Related Topics